3.7.1 Register YAML files with GitLab (GUI)
Perform the following operations by accessing GitLab from the Git application.
(1) Create the registration destination.
Before registering a YAML file, create a registration destination repository in any group. For details on creating a repository, see “Repository management”. Also, before executing the API, it is necessary to perform API authentication and obtain an Ops I token. For details, see “API reference overview > Prerequisite knowledge > Obtaining Ops I tokens” in the “JP1 Cloud Service/Operations Integration API Reference”.
Go to the registration destination repository and click “Edit”. Select “Web IDE” from the displayed submenu.
(3) Select the directory in which to store the YAML file and then upload or create a new YAML file.
Move the cursor to the left pane where the repository name and file list are displayed to display the icons for file creation and upload. The operation can also be performed from the menu that appears when right-clicking on a directory.
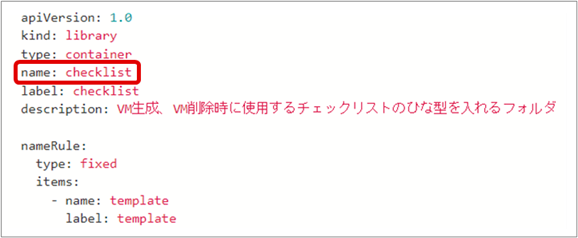
The value of the “name:” label for the newly created or uploaded YAML file must match the name of the storage directory in Git. The playbook file does not need to match.
(Figure) YAML file definition example
(4) Commit to register the YAML file.
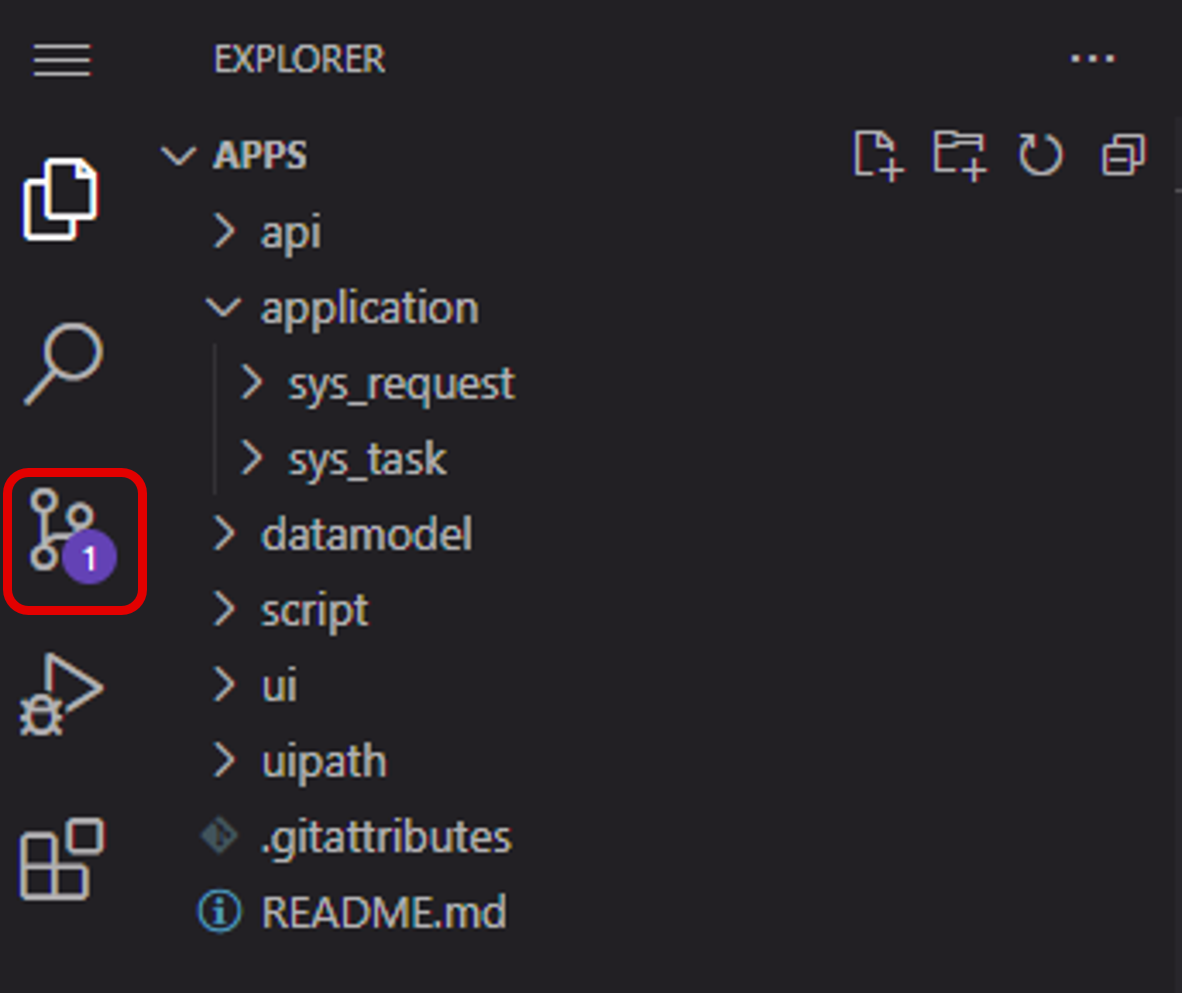
When changes are made, such as the creation or uploading of a new file, a number will be displayed on the Source Control icon in the left pane.
(Figure) Source Control icon in the Web IDE window
Select the Source Control icon to display the Commit to 'main' button. Set the following and click to execute Commit.
- Commit message
- Commit target branch (Select the main branch).
- Name of file to commit