4.7 Setting up automatic job execution
This section describes a series of steps for registering YAML files and setting up AWX for processing that involves the automation functions.
When the example workflow definition used in this section is launched from the service catalog window, the workflow is completed by executing the Playbook that outputs a message to the web browser in the background.
The setup procedure is as follows.
(Table) Flow of YAML file registration and AWX settings
| # | Item |
|---|---|
| (1) | Adding a workflow |
| (2) | Updating the service catalog |
| (3) | Creating a job template |
| (4) | Launching the catalog item |
For details on workflows, see “Designing a workflow” and “Workflow”. For details on service catalogs, see “Designing a data model” and “Catalog”. For details on job templates, see “Registering templates”.
(1) Adding workflows
Add the following workflow.
The YAML files described here have dependencies. When you register all the YAML files in GitLab at the same time, you do not have to be careful about the dependencies, but when you register the YAML files one at a time, register the Script, UI, and Workflow YAML files in that order. The word “register” here refers to “commit” via GUI and “push” via CUI. Playbooks can be registered in any order.
(Table) YAML files to register
| Folder/file Name | Outline | |||
|---|---|---|---|---|
| dummy | - | |||
| script | Script definition: Displays a message dialog box when the request window is initially displayed. |
|||
| dummy_script | ||||
| manifest.yaml | ||||
| output_message.js | ||||
| ui | GUI definition: Defines (includes) the UI and Script. |
|||
| dummy_ui | ||||
| manifest.yaml | ||||
| workflow | Workflow definition: Defines each step of the workflow. To execute a job template from the workflow, the provided Ops I component "awx.run_job_template" is defined for "action" and the job template name ("dummy_template" in this example) for "input" for the Task model. |
|||
| launch_job_wf | ||||
| manifest.yaml | ||||
| playbook | Playbook | |||
| test.yaml | ||||
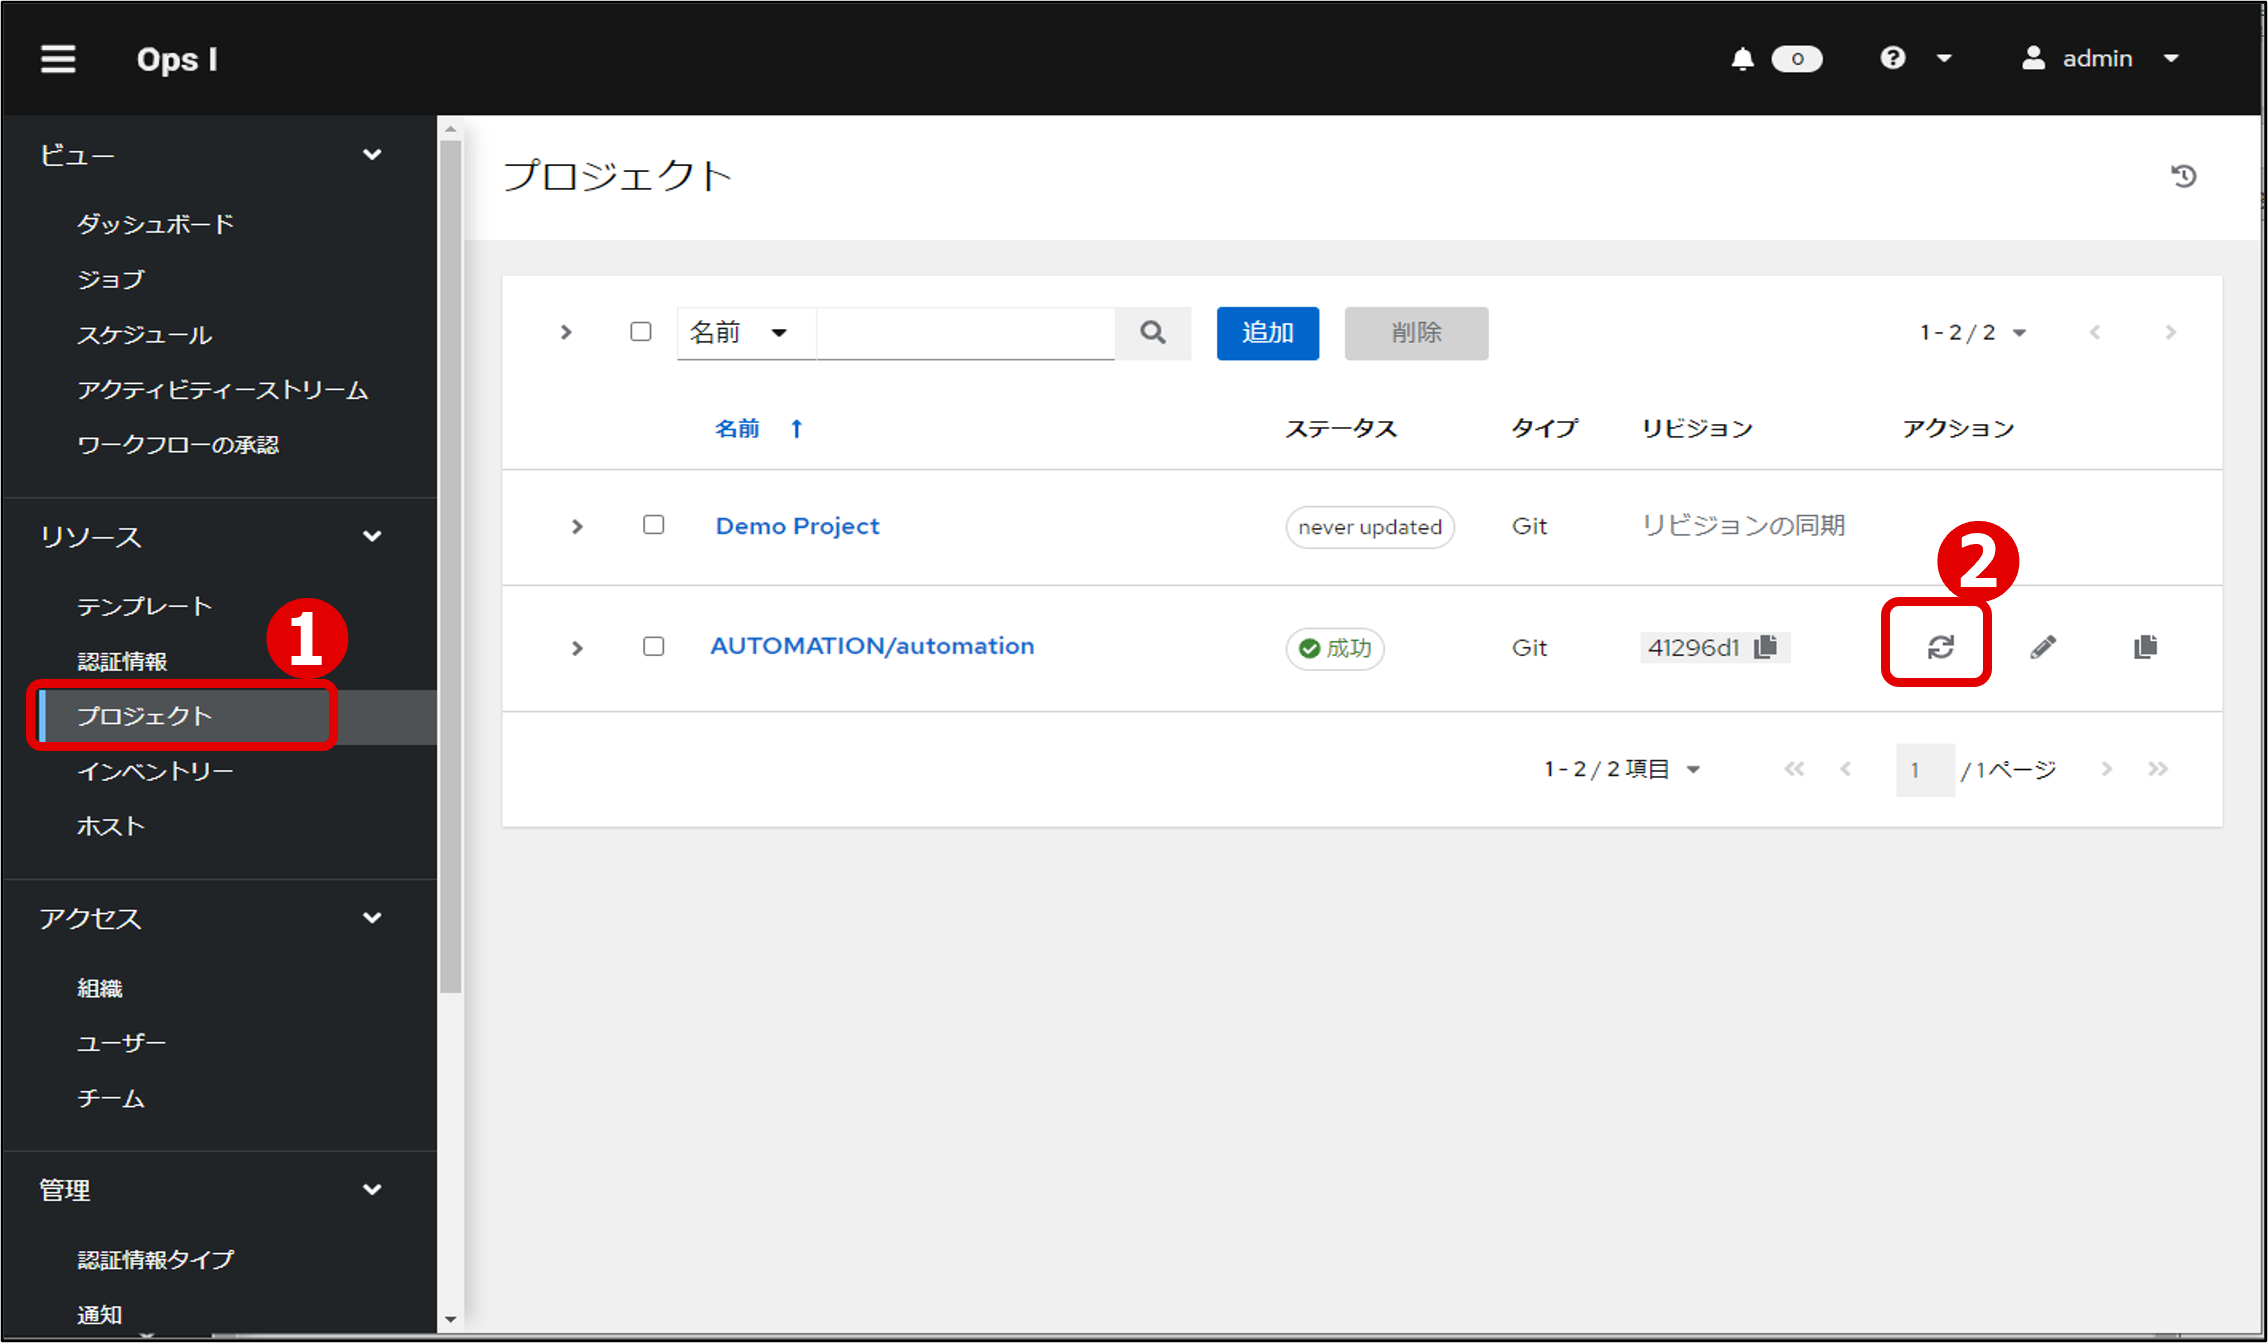
For details on the YAML files, see “Script”, “UI”, and “Workflow”. To check if the YAML files are registered correctly, see “Checking registration status of YAML files” or “Checking registration status of YAML files (GUI)”.
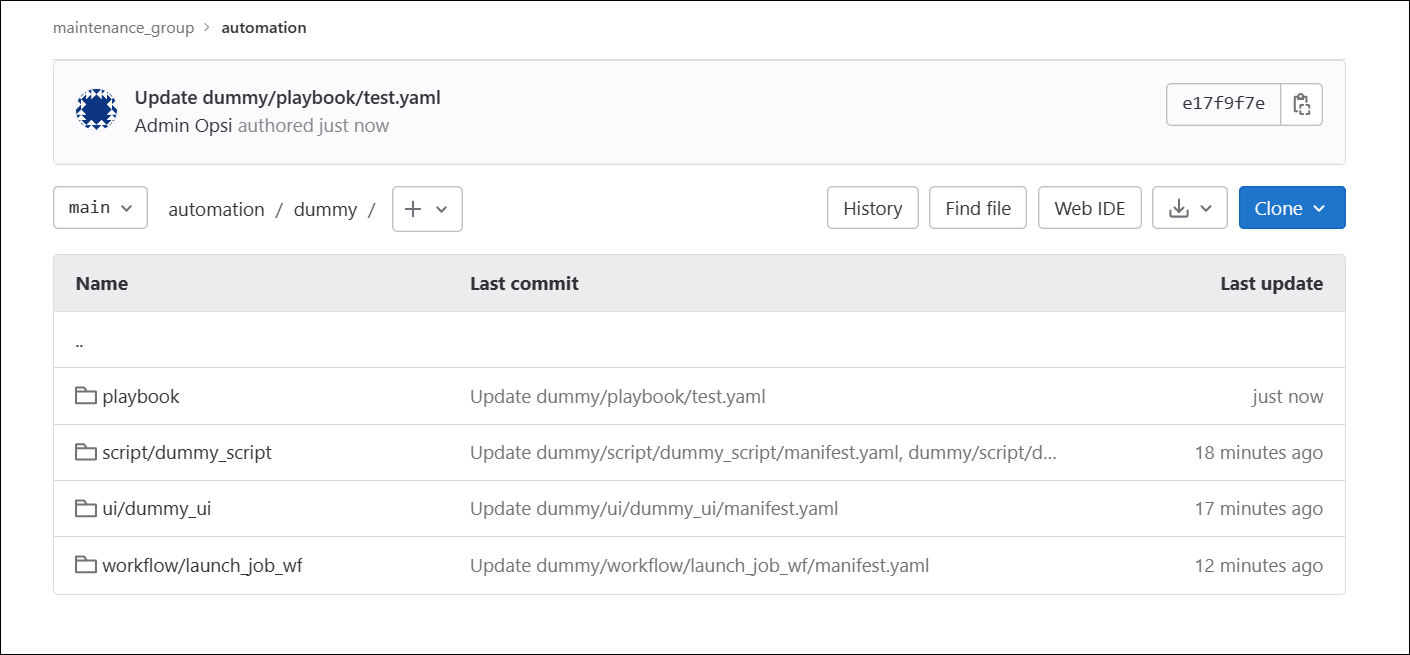
After the YAML files are added, GitLab will look like the following, with the workflow registered to Ops I.
(Figure) GitLab after registering YAML files
(2) Updating service catalogs
To view the registered workflow from the service catalog window, add the following to the YAML files in the service catalog.
(Table) Updates to make to the service catalog
| Section to update | Updates to make |
|---|---|
| includes: |
- kind: workflow name: launch_job_wf |
| categories: |
- name: dummy label: AWX sub: - name: launch_job label: Job execution items: - workflow: launch_job_wf label: AWX job execution description: Workflow to execute AWX jobs. |
Once registered correctly, the registered catalog items will appear in the service catalog list.
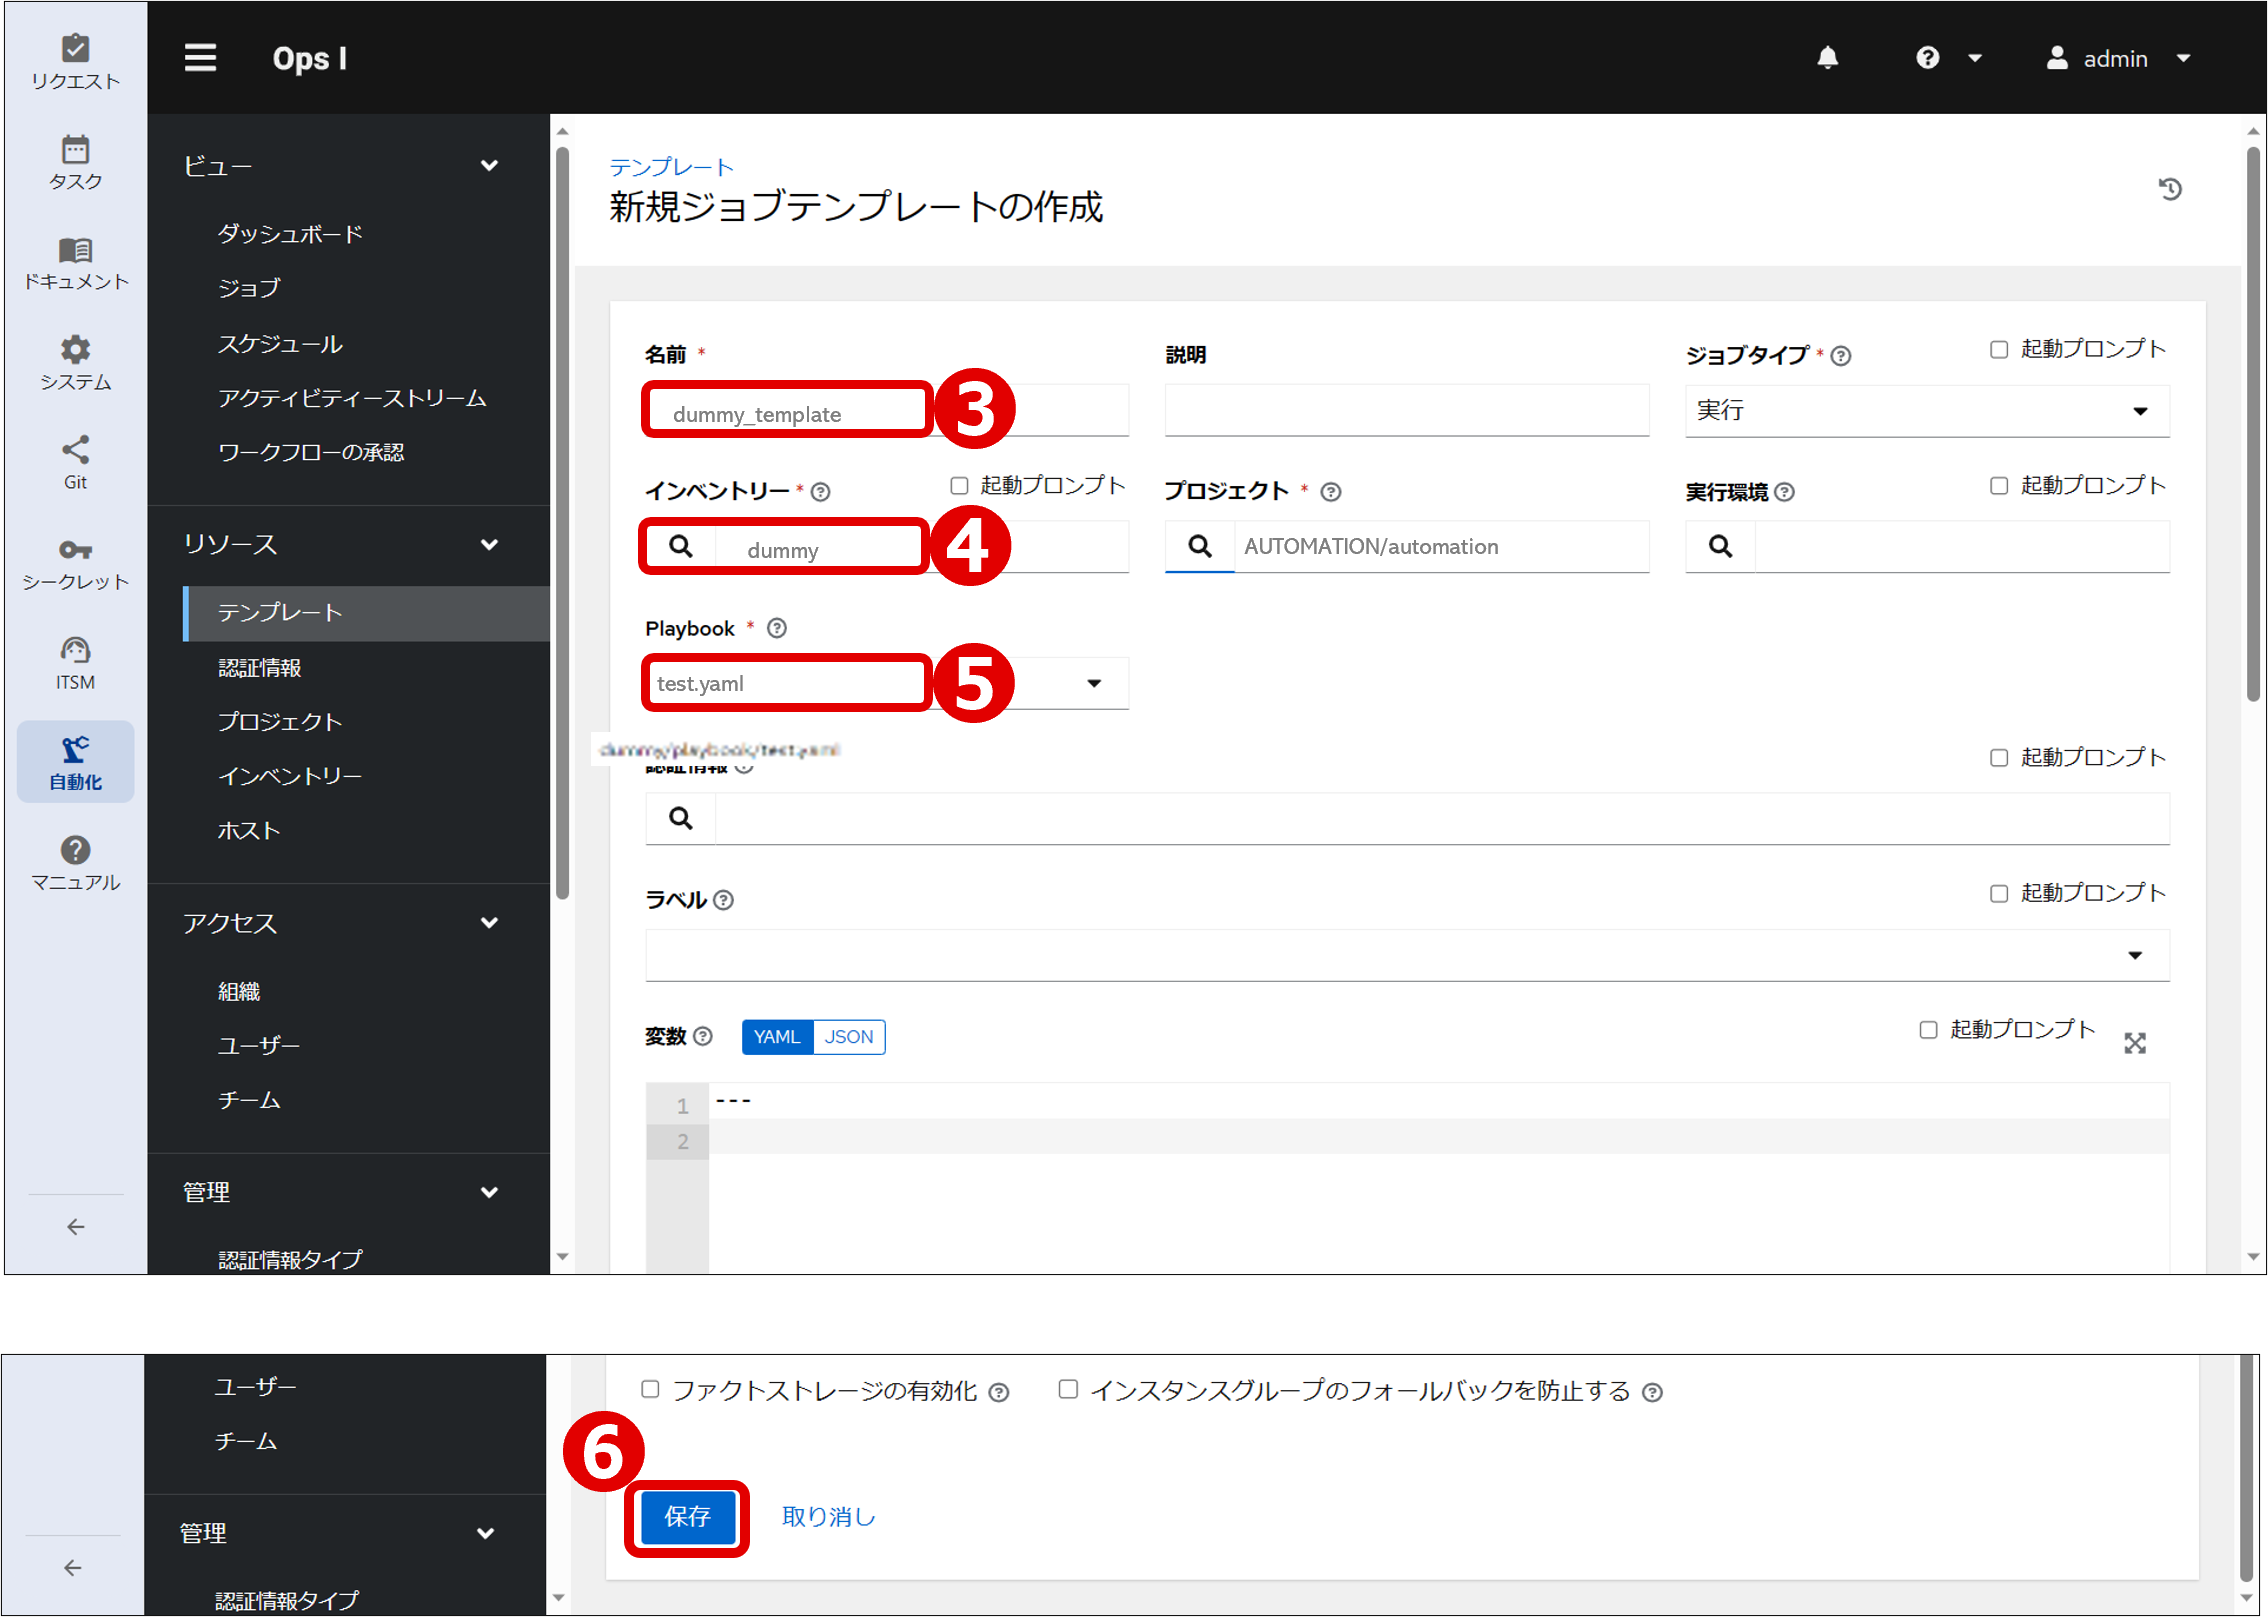
(3) Creating a job template
A job template is a set of definitions combining authentication information, projects, inventories, etc., for executing a job. It can be linked with a playbook by specifying the playbook YAML file in the repository set for the project.
This task is assumed to be performed after the playbook YAML file (test.yaml) is registered in the procedure “Adding workflows”.
By defining the same name in the workflow YAML file, this job template is associated and executed.
(4) Starting catalog items
From the service catalog, launch the catalog item added in the procedure “Updating service catalogs” and click the [Start Request] button.
In this procedure, the message specified in the JavaScript is displayed to indicate that the playbook execution was completed successfully.
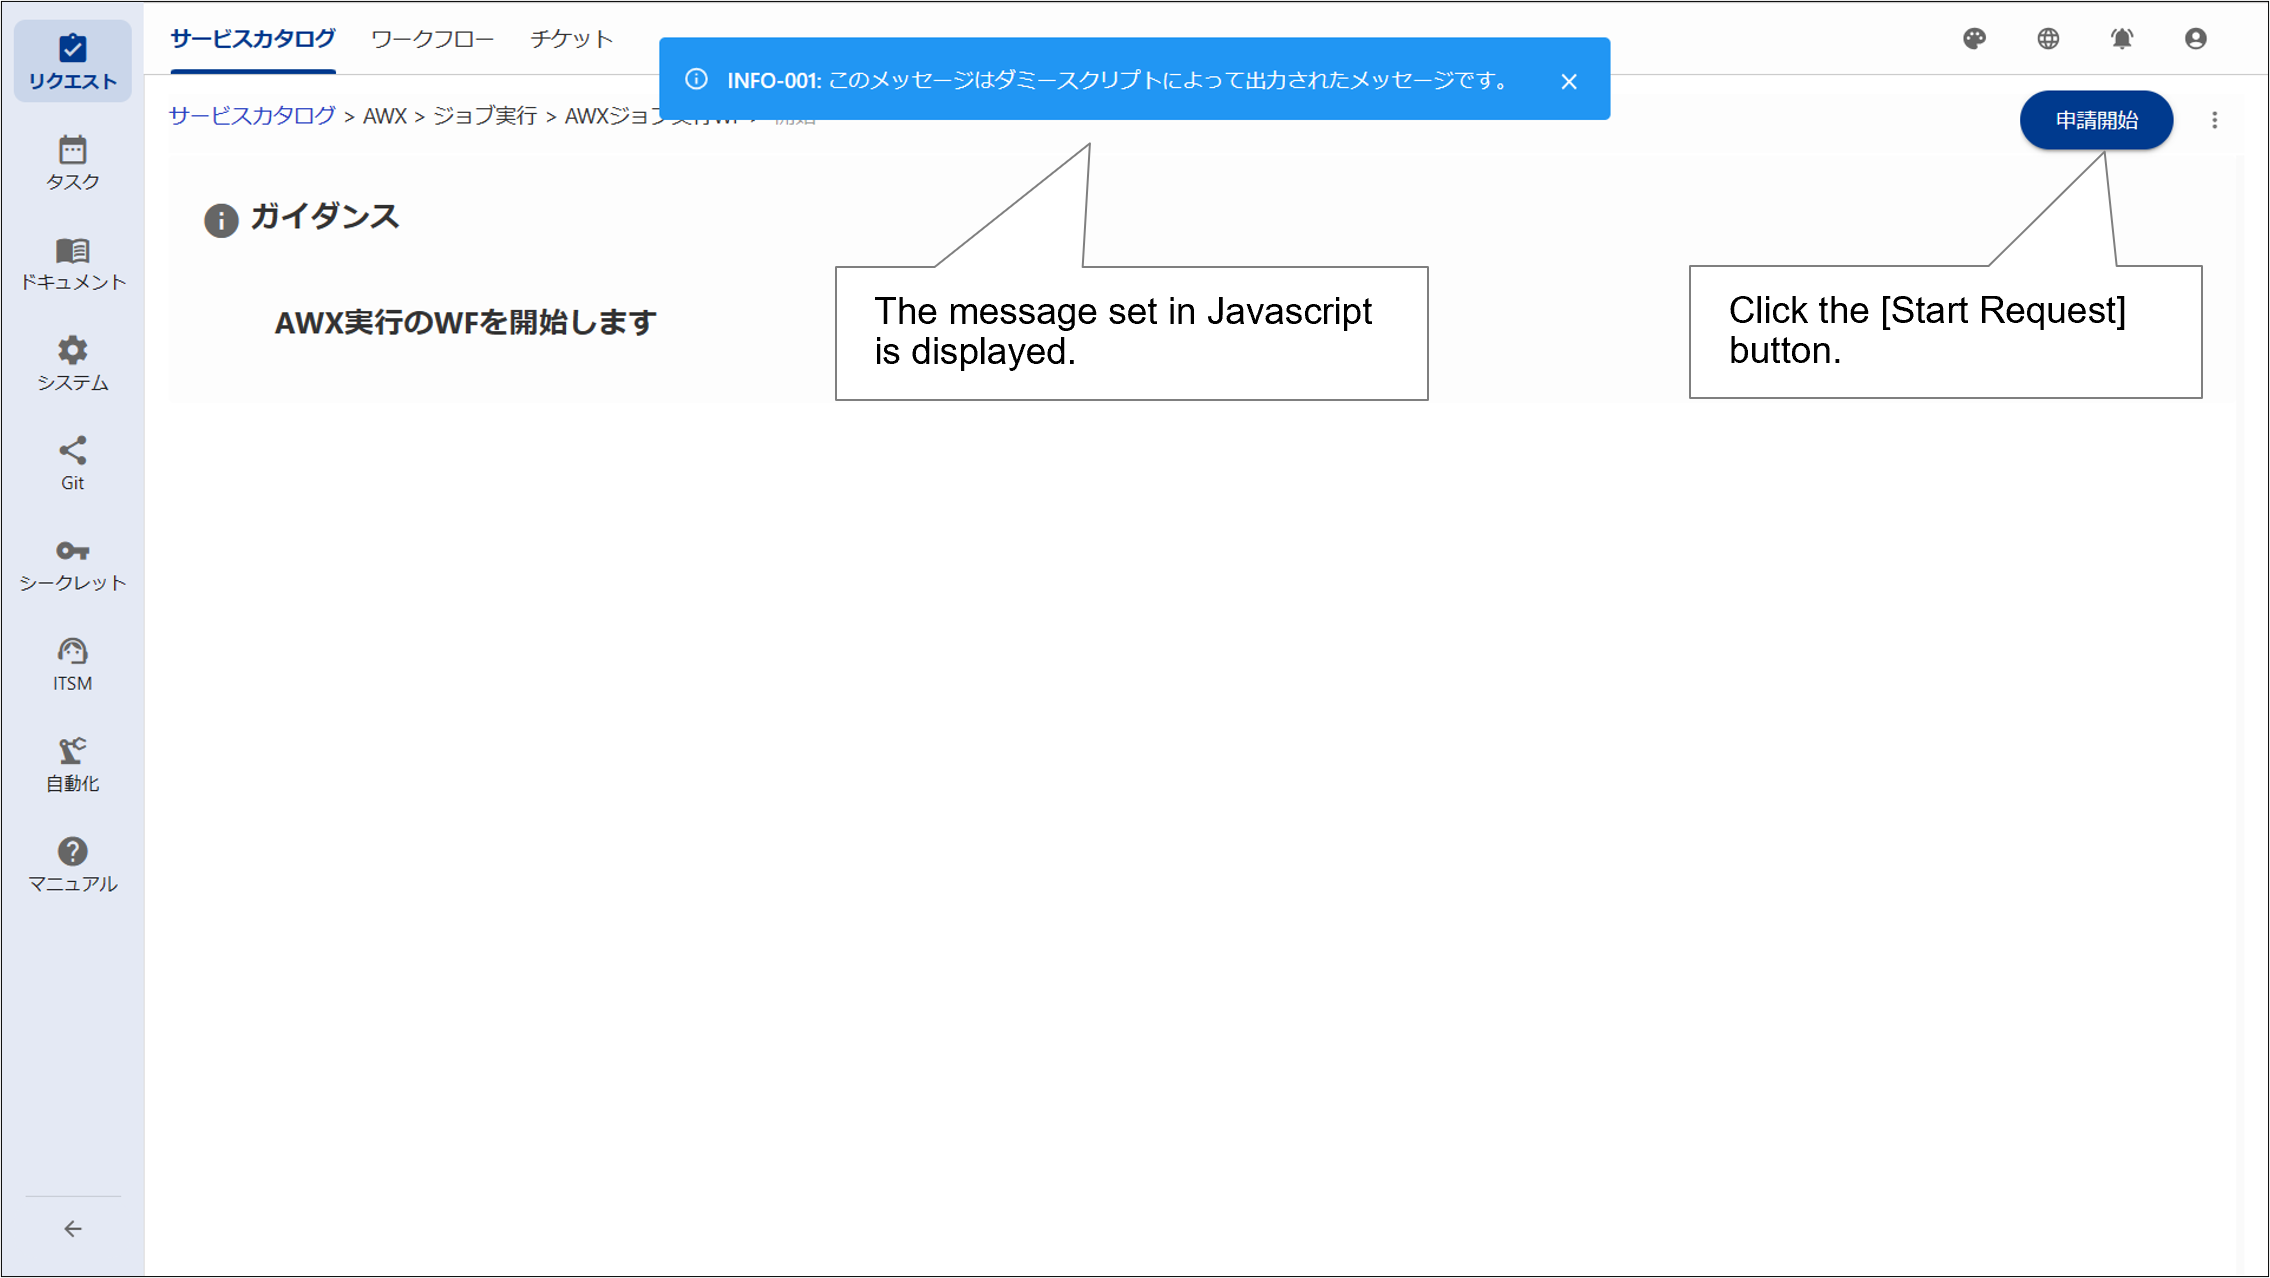
Clicking the [Start Request] button executes the workflow, and in this procedure, the workflow “AWX job execution” is started.
The status of the job can be viewed on the Ops I workflow window or by selecting the job from the AWX contents area. For details on the Ops I workflow window, see “Workflow”. For details on the AWX job confirmation window, see “Checking job execution results”.