4.3.10.1 Prerequisite knowledge
This section describes the following prerequisite knowledge required for site management.
(1) Creating and deleting users
(2) Windows and items displayed for each role
(3) Main sites/template sites
(4) Plugins
(1) Creating and deleting users
Describes how to create and delete Ops I and WordPress users.
When an Ops I user is created, the same user is created in WordPress. Site network administrators are assigned site administrators from the [Site Management] window.
The mapping between Ops I users and WordPress user information is as follows. If an Ops I user’s entry in the table below is changed, the corresponding entry for the WordPress user will also be updated.
If you want to fix the display language for the WordPress users, click [Edit Profile] in the upper right corner of each window, and specify the language from [Language] in the [Profile] window.
(Table) Mapping of Ops I users to WordPress user information
| Ops I | WordPress |
|---|---|
| username | username, name, nickname |
| firstName | first_name |
| lastName | last_name |
When an Ops I user is deleted, the associated WordPress user is also deleted. The user’s property (e.g., posts) in WordPress is passed on to the dxuser user, which exists only in WordPress.
The following describes the details on the WordPress dxuser user.
- A user exists only inside WordPress and does not exist as an Ops I user (login not allowed)
- A user named dxuser cannot be added in Ops I
- A user to take over the property of the deleted user
- Fixed pages and posts owned by a dxuser can be manually changed to another user at a later time (users who can make changes, i.e., users assigned to a Primitive role “portal_network_admin” or “portal_site_admin”)
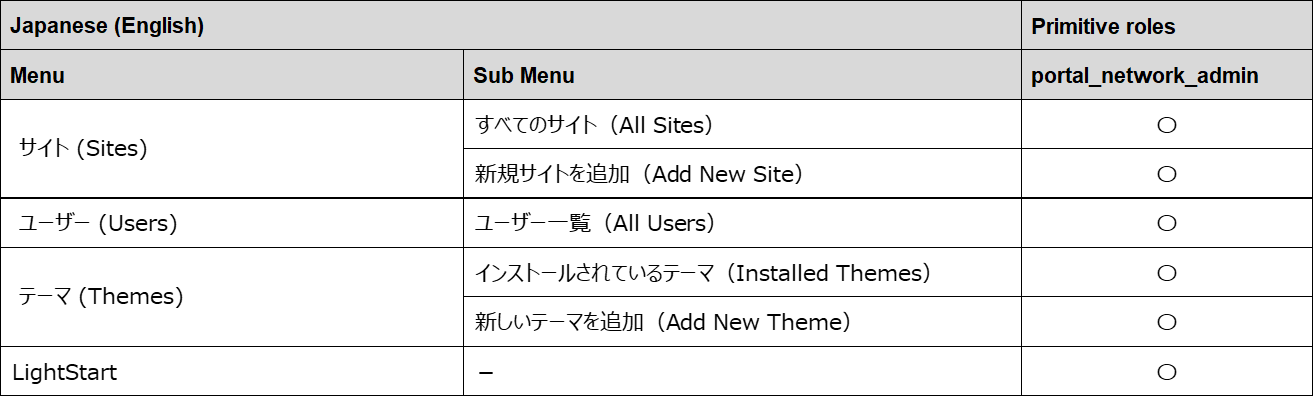
(2) Windows and items displayed for each role
The site administration window displays the items required for operation for each role assigned to the user. The following shows the correspondence between the displayed items and roles.
There are two main site management windows: the [Site Network Management] window and the [Site Management] window. The same header is displayed on both windows.
The [Site Network Management] window is visible only to users assigned the Primitive role “portal_network_admin”.
For more information on roles, see “Display and operation permissions based on roles”.

(Legend) ◯: Can be displayed ×: Cannot be displayed
(Table) Items displayed on the site network management window
(Legend) ◯: Can be displayed ×: Cannot be displayed
(Table) Items displayed on the site management window

(Legend) ◯: Can be displayed ×: Cannot be displayed
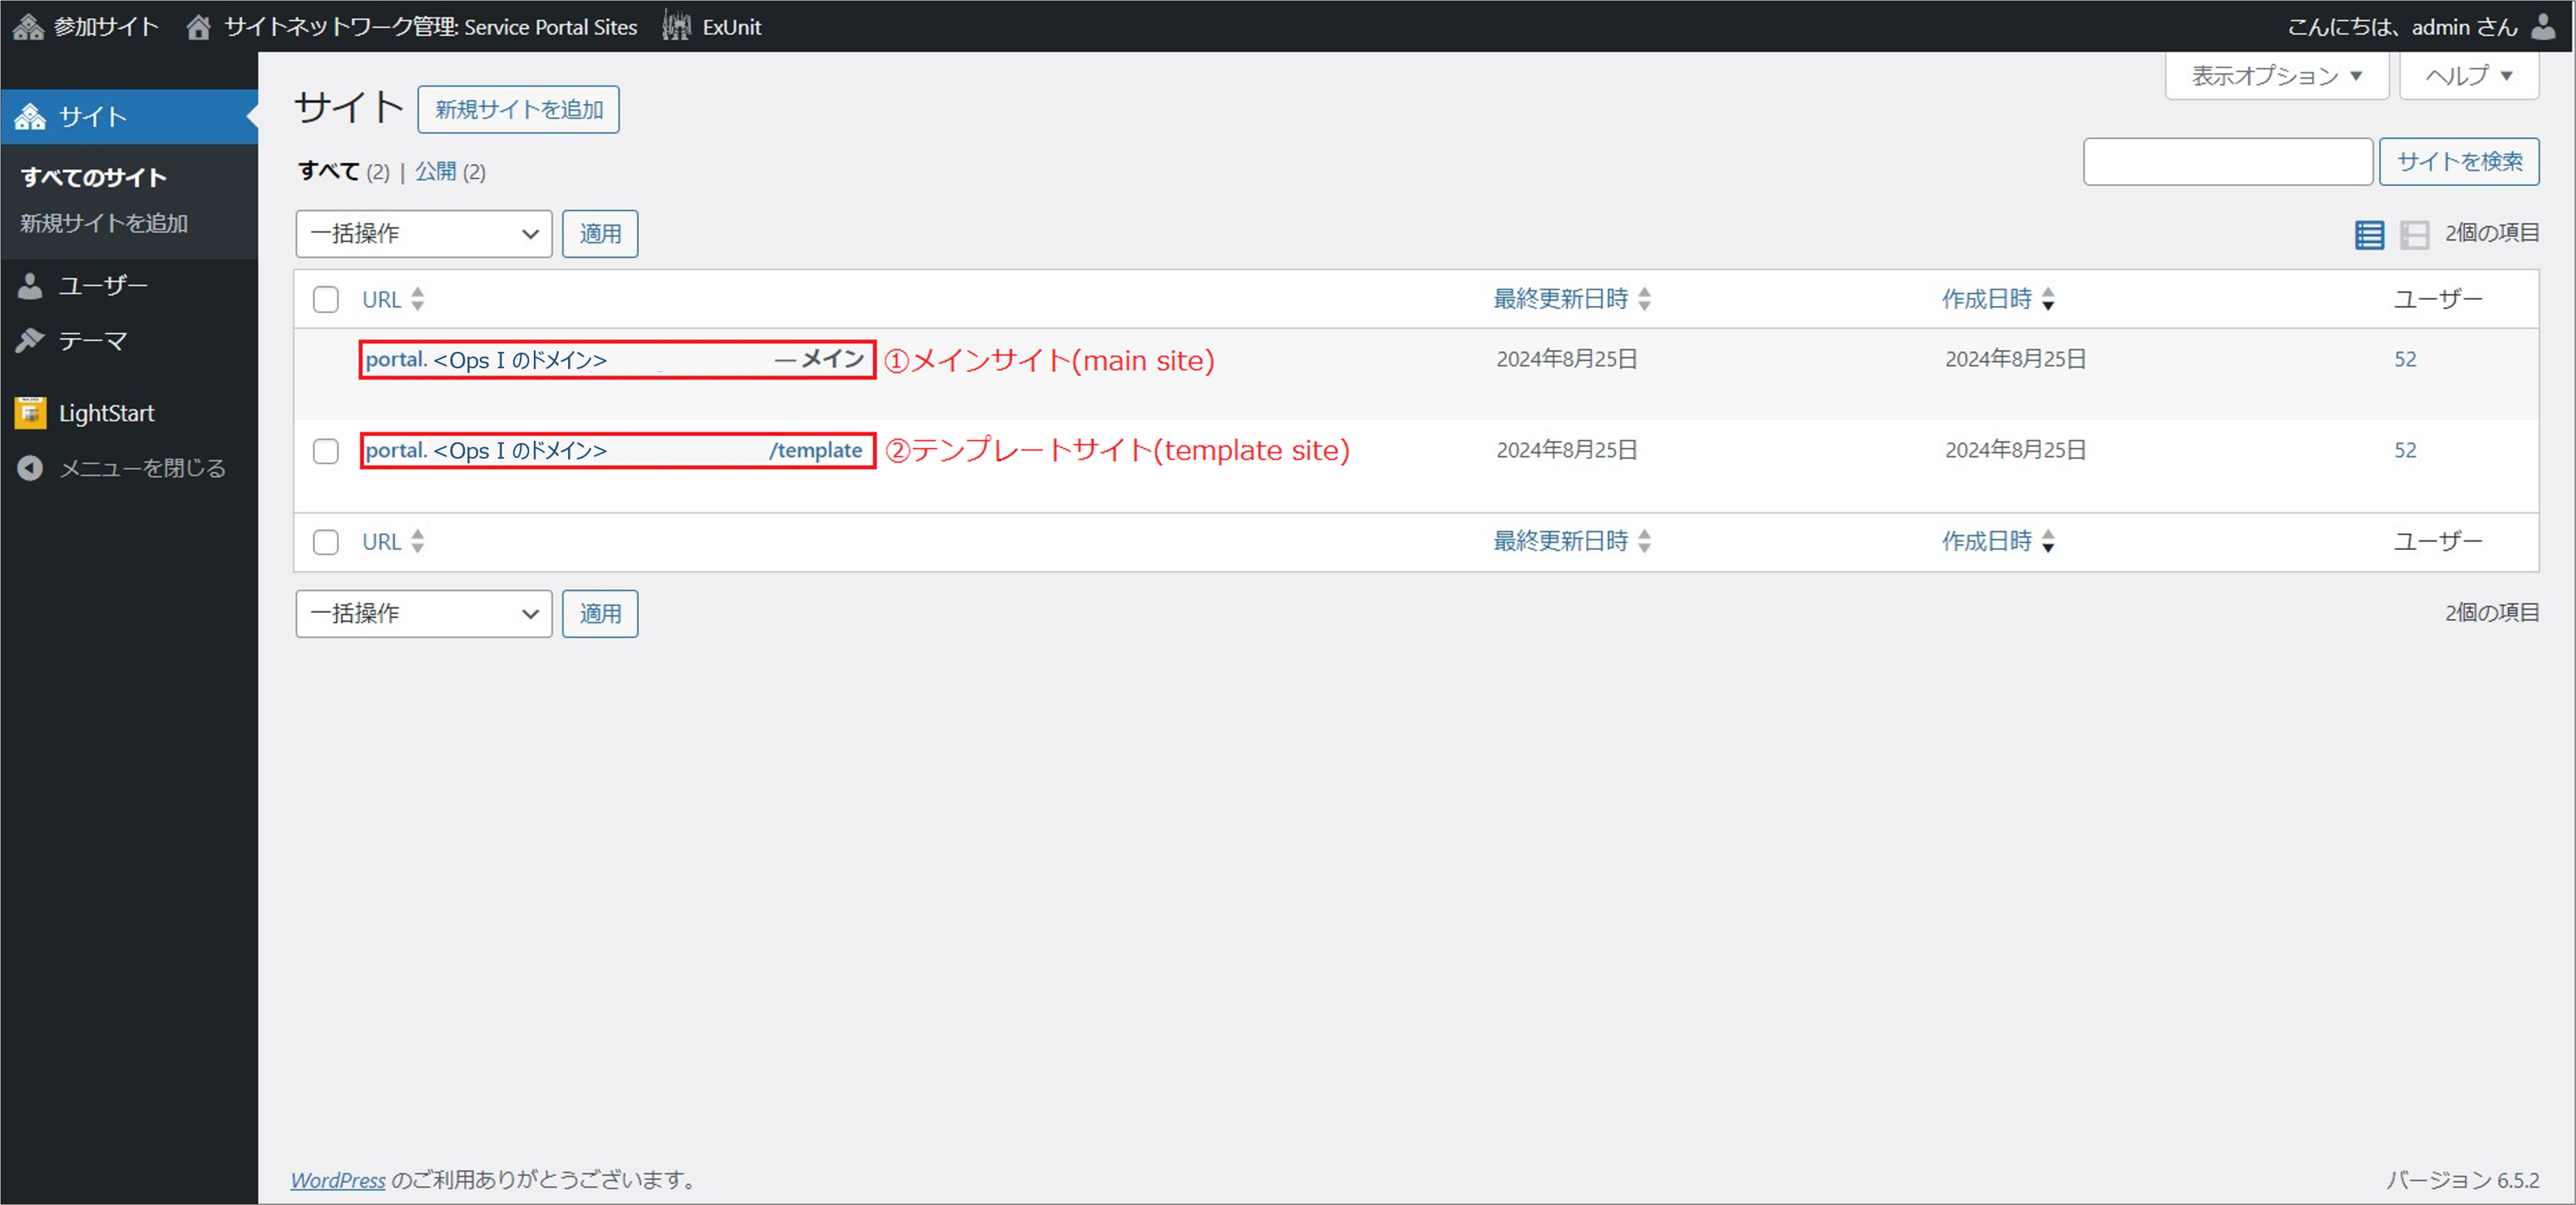
(3) Main sites/template sites
Two types of sites are provided in the initial state of site management: Main site and template site. Use the two sites for different purposes. The details are as follows.
The main site is the site with the [Lightning] theme applied in its initial state. The main site can be edited and published.
The template site is the site to which the [Lightning] theme is applied, with the basic pages used by customer and requestor users embedded by default. You can copy a template site and customize it for each user of the site. This shortens the process of site creation.
Users with the following roles cannot access the template site, even if they also have other site management roles.
- Primitive role "portal_subscriber"
- Pre-Installed role corresponding to Primitive role "portal_subscriber"
For details on site management roles, see “Display and operation permissions based on roles”.
URL of template site: https://portal.Ops I domain/template
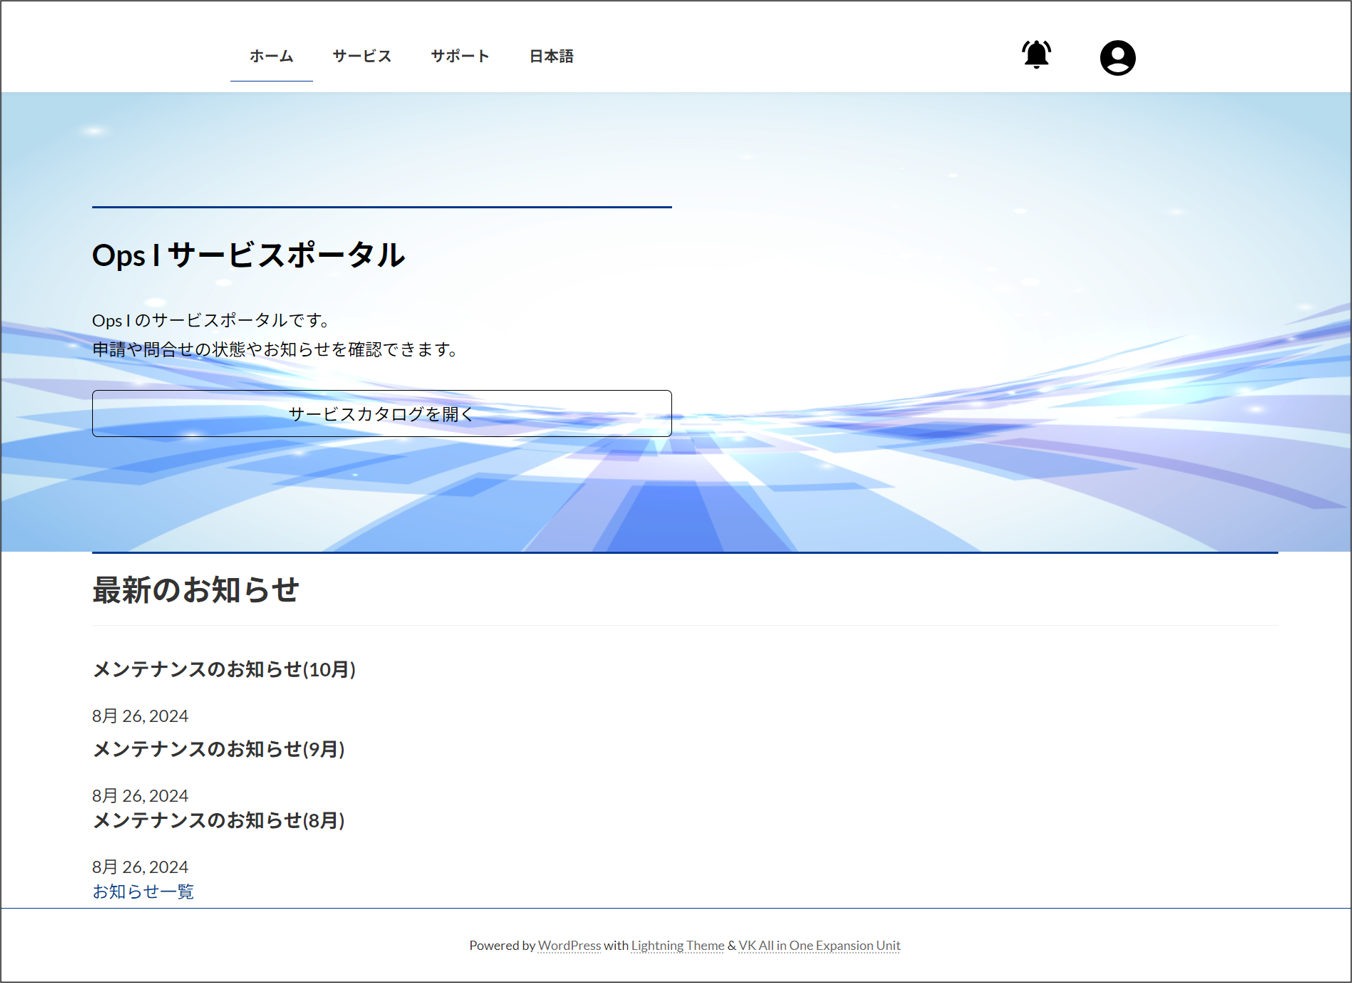
When you access the template site, the [Home] window will appear.
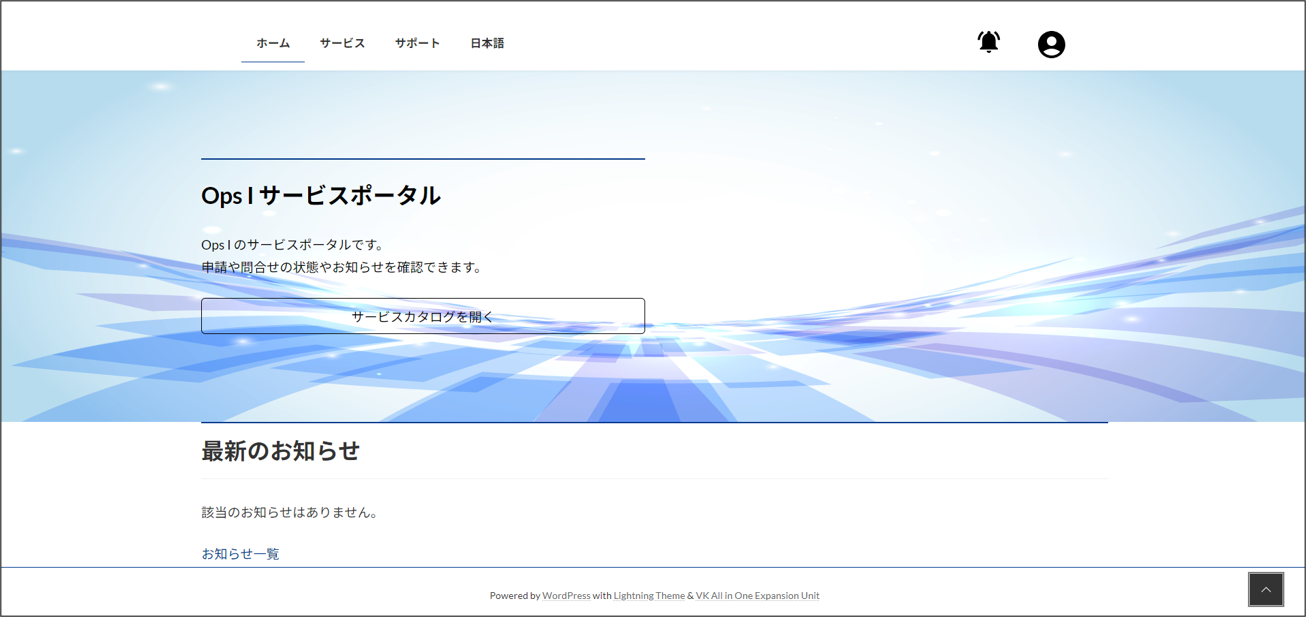
To the left of the header are the [Home], [Service], and [Support] tabs, and to the right is [Avatars]. Details of each tab and menu are described below.
-
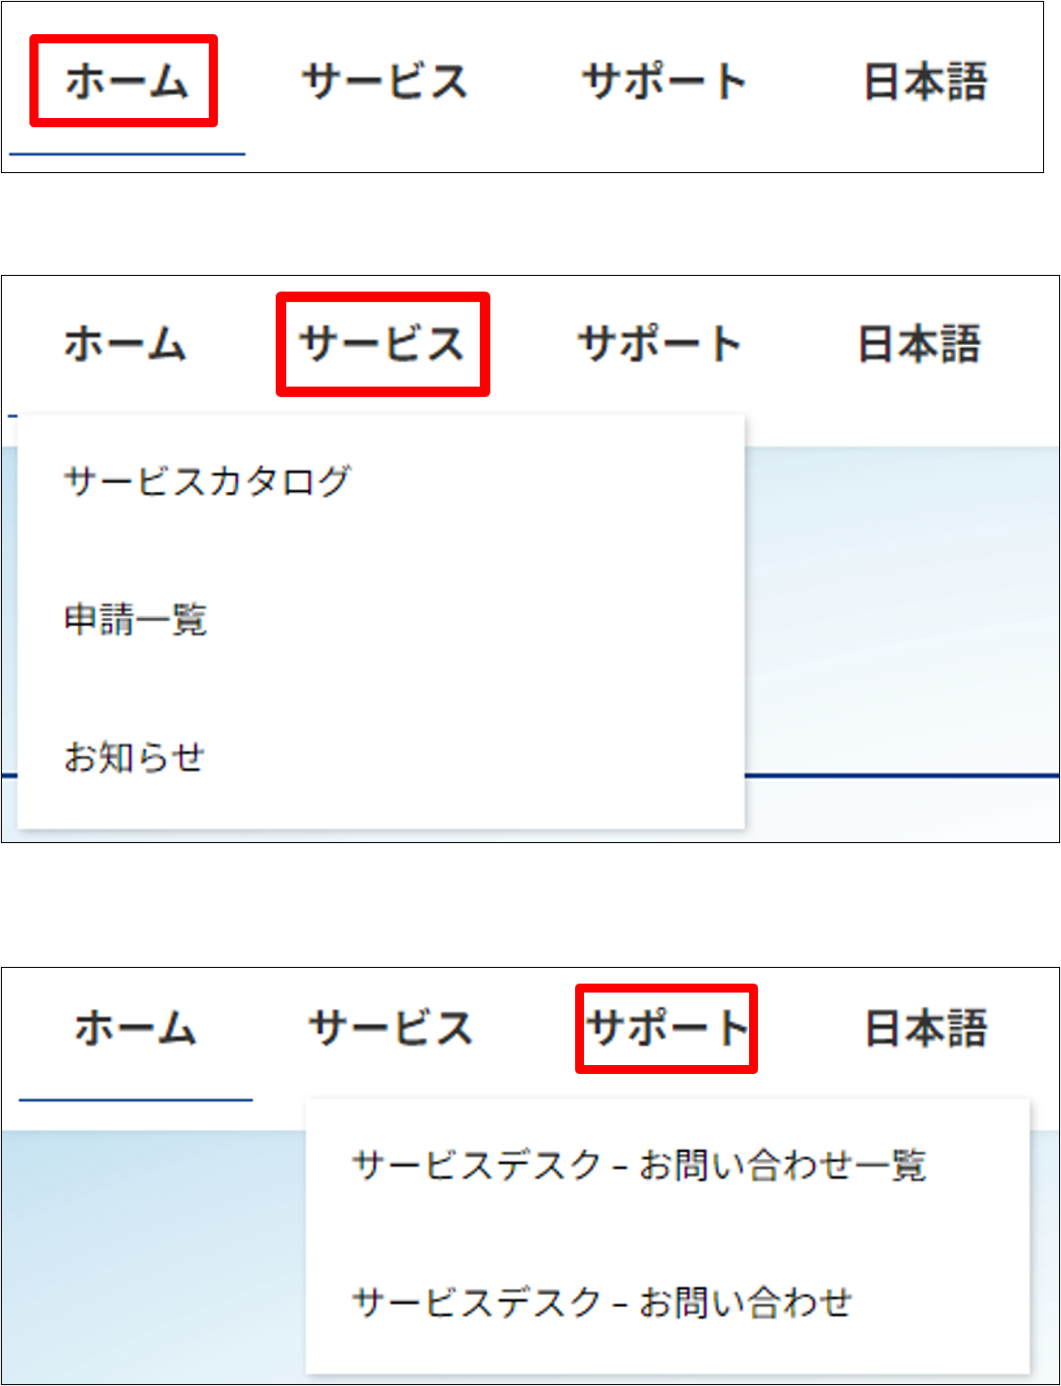
[Home], [Service], [Support] tabs
Mouse over the [Home], [Service], and [Support] tabs to see the menu for each tab. The menu that each tab displays is as follows.
Tab Menu Home The menu does not appear when you mouse over it. Clicking the Home tab takes you to the home page Service - Service Catalog
- Request list
- Notice
Support - Services Desk - List of Inquiries
- Service Desk - Inquiries
-
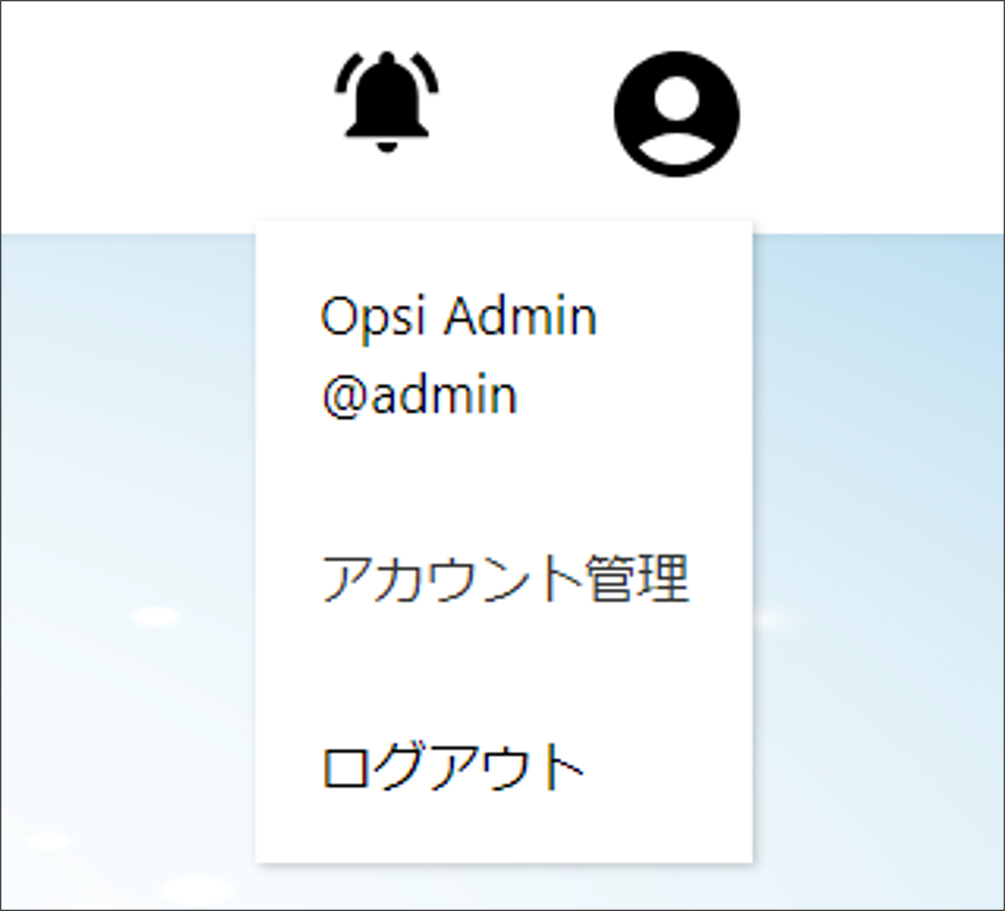
Avatar
The "Ops I Menu" is located on the avatar.
The page configuration of the template site is as follows.
- Home Page
URL: https://portal.Ops I domain/template/ja
Click the [Open Service Catalog] button to go to the Service Catalog page.
The three most recent "News" are listed with the custom post type "News" as the data source. The [News list] button appears below the list of the latest notices, and clicking it takes you to the "Notices" page.
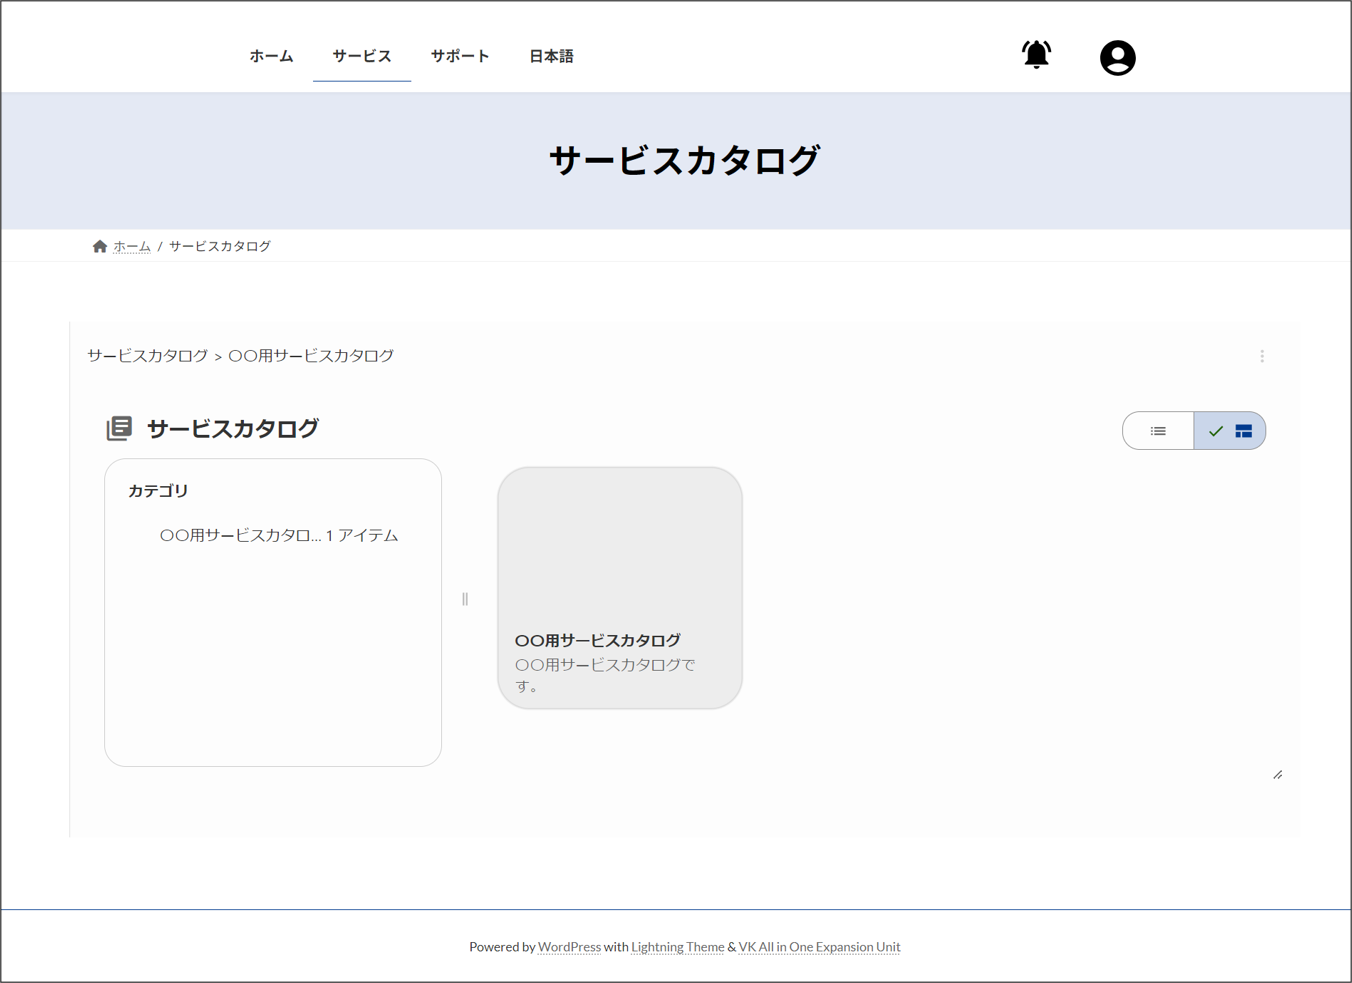
- Service Catalog page
URL: https://portal.Ops I domain/template/ja/service-catalog
Ops I [Service Catalog] window appears. Customer and requestor users can create workflows from this page.
Service catalogs can be access controlled on a customer-by-customer basis. For details, see "Designing a data model".
- Request List page
URL: https://portal.Ops I domain/template/ja/request-list
A list of workflows is displayed. Showing and hiding each workflow is controlled by ACLs in Ops I. Customer and requester users can view workflows and workflow details.

- News page
URL: https://portal.Ops I domain/template/ja/news
The custom post type "News" will be listed. The list is sorted in descending order by the "Date" of the posts. Pagination is possible as 10 items per page.
Customer and requester users can view notices from the operations department.
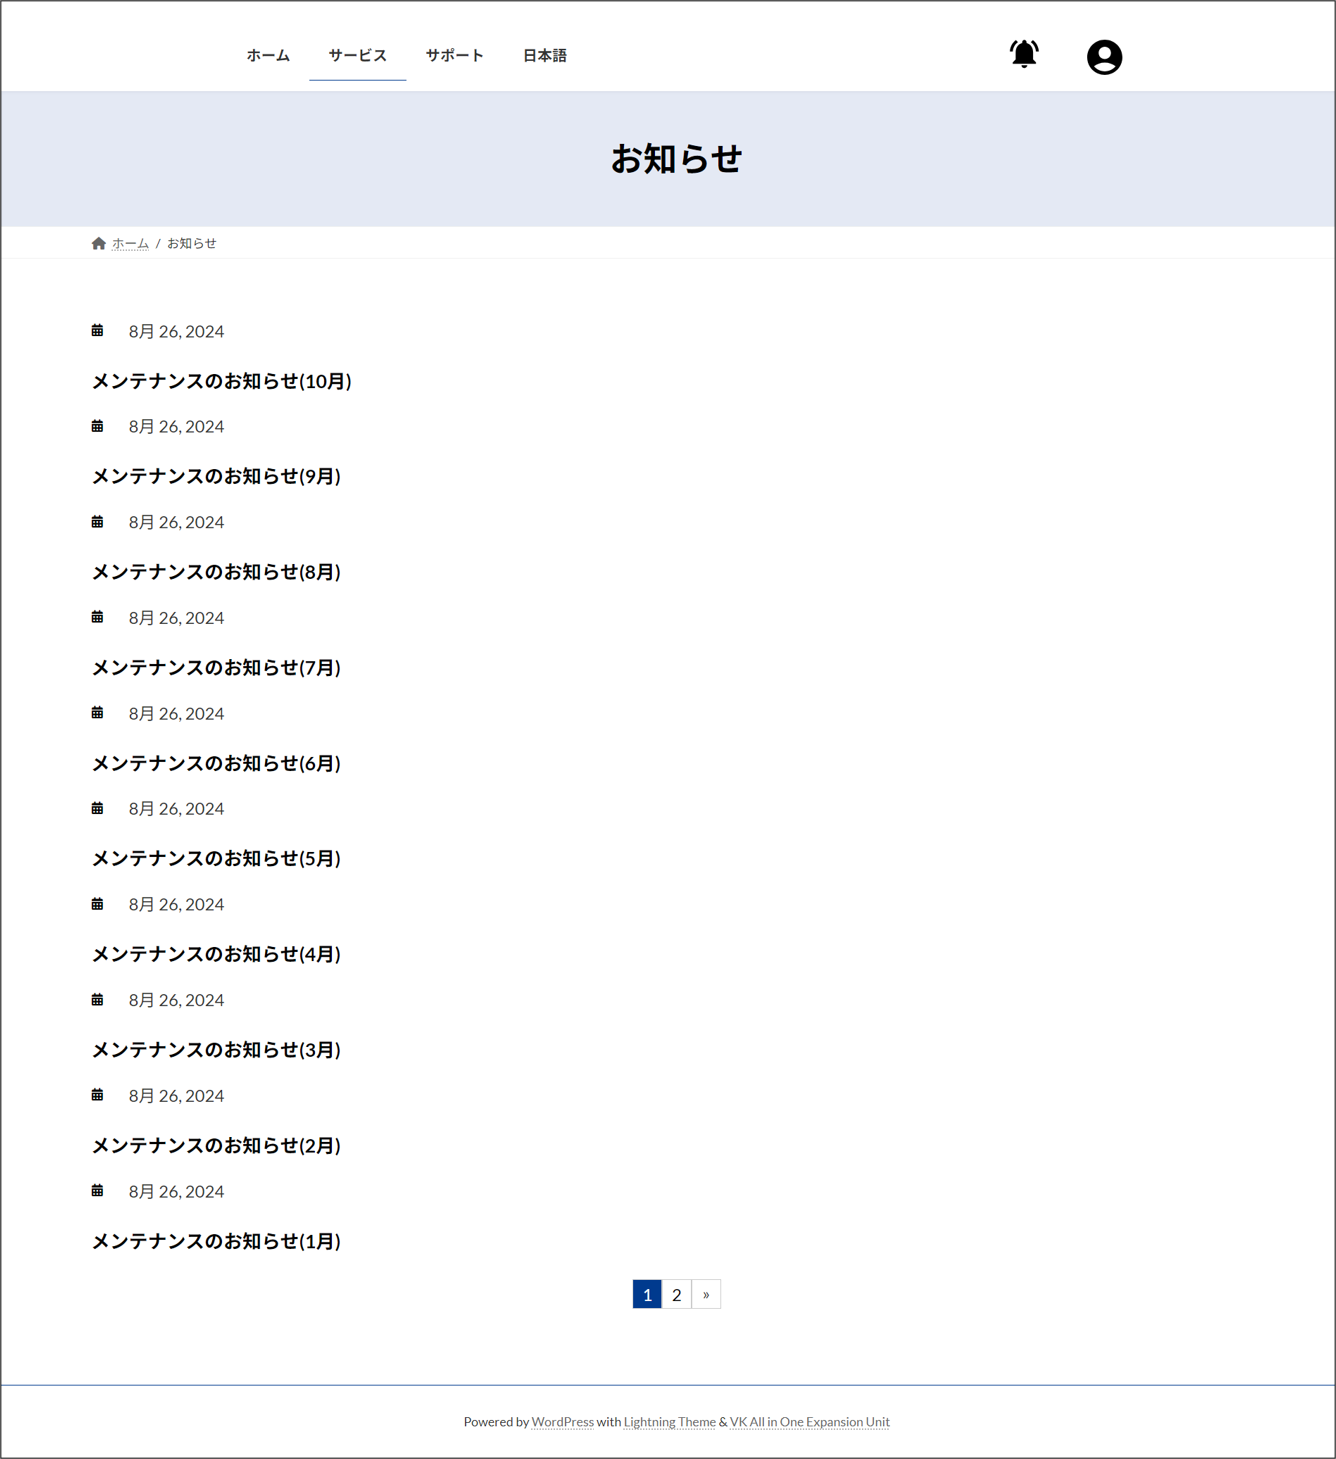
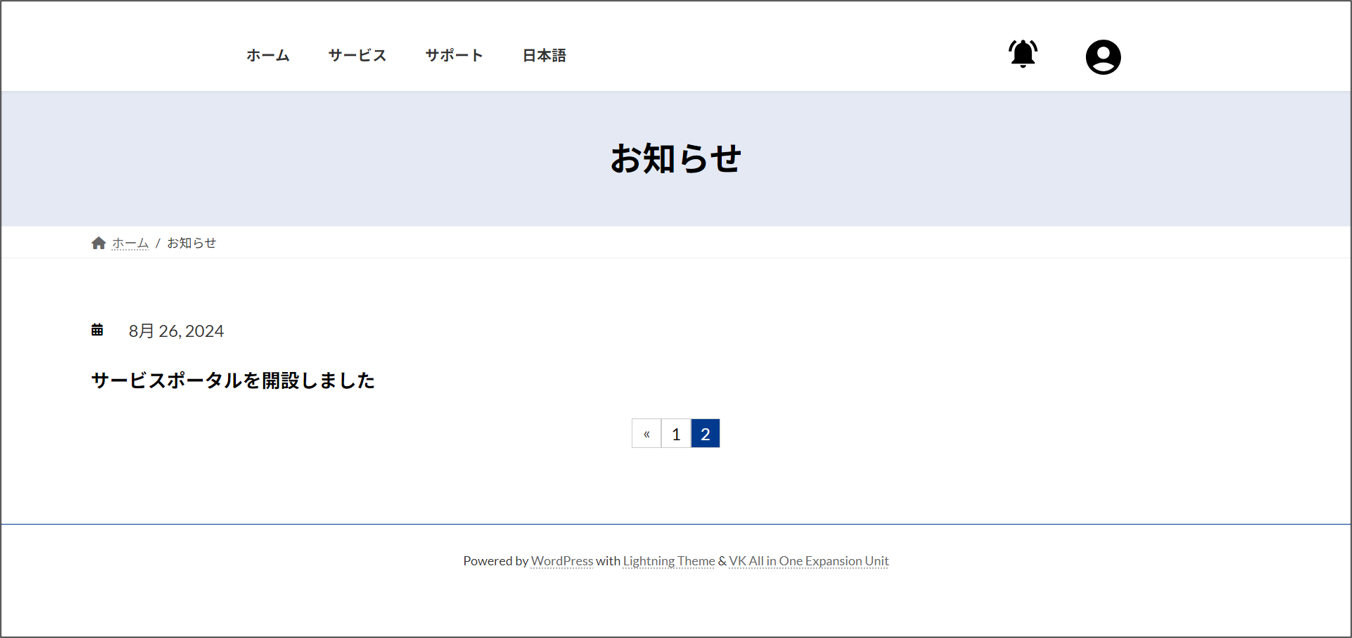
Selecting an item on the list will take you to the detail window of the notices.

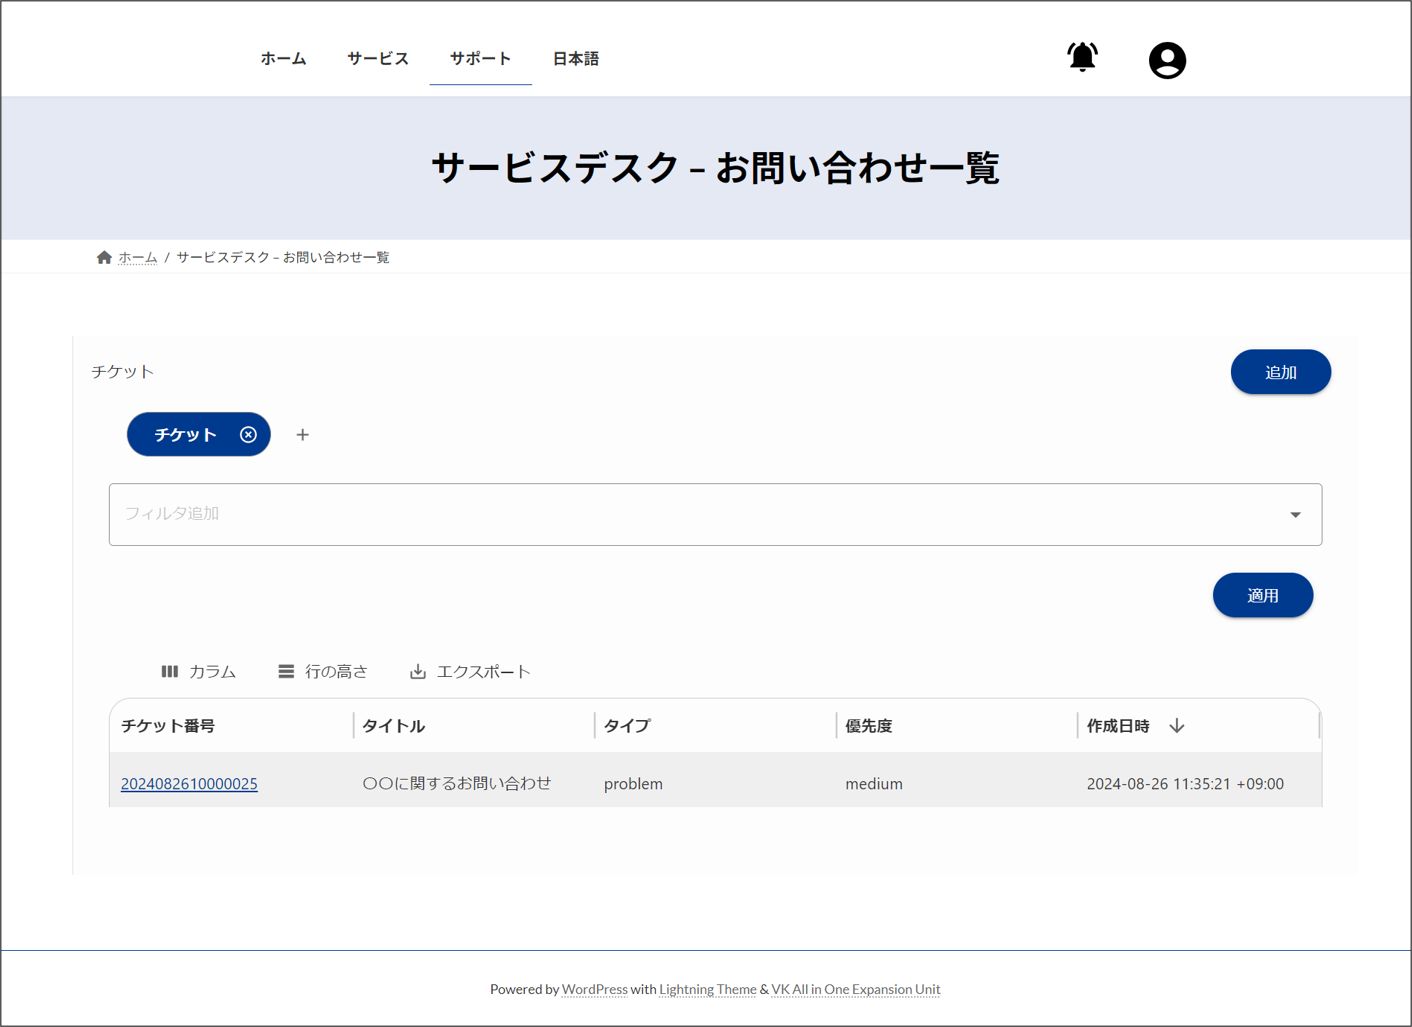
- Service Desk - List of Inquiries page
URL: https://portal.Ops I domain/template/ja/contact-list
The Ops I ticket list window (request application) is displayed. Showing and hiding each ticket is controlled by ACLs in Ops I.
Customer and requestor users can view tickets related to past inquiries and tickets automatically created during workflow creation.
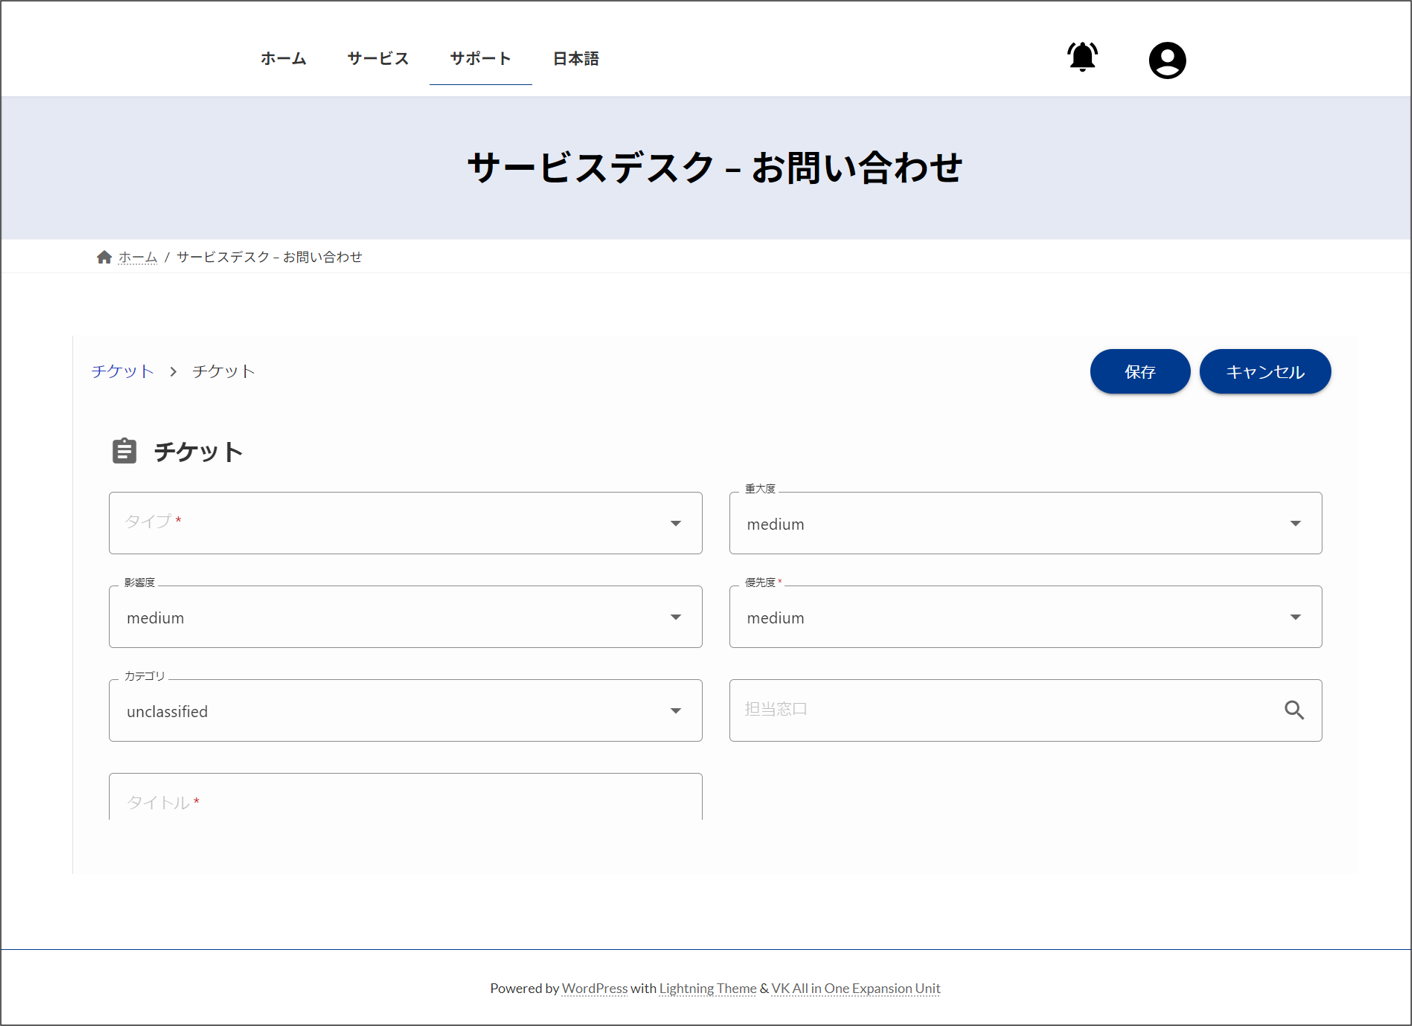
- Service Desk - Inquiries page
URL: https://portal.Ops I domain/template/ja/contact
The Ops I ticket creation window (request application) is displayed.
Customer and requestor users can create tickets and make inquiries.
 Notes
Notes
- Do not edit and delete the template site.
- You cannot create a site with the URL "https://portal.Ops I domain/template/any string".
(4) Plugins
In site management, plugins are provided for various use cases and security enhancements. The plugins provided are enabled by default and cannot be disabled.
See below for a list of available plugins.
| Plugin name | Description |
|---|---|
| Akismet Anti-spam: Spam Protection | Automatically sorts spam comments |
| Customizer Export/Import | Imports/exports theme customizations |
| LightStart | Puts the site in maintenance mode |
| OpsI Account | Provides [OpsI Account] widget to change Ops I password |
| OpsI Block | Embeds Ops I windows in the page |
| OpsI Menu | Unique avatars in site management |
| OpsI Notification | Provides an [OpsI Notification] widget that displays notifications on the site window. |
| Polylang | Multilingualization supported |
| VK All in One Expansion Unit | Plugins that implement various functions required for website creation |
| VK Block Patterns | Registers your own block pattern. External patterns can also be used by simply copying and pasting the pattern |
| VK Blocks | Provides blocks that can be used when creating pages and posts. |
| WordPress Importer | Imports a site |